How to Remove Exhaust in GoFaster
Angle match, F detach, and clean workbench reattach for Version 0.3.
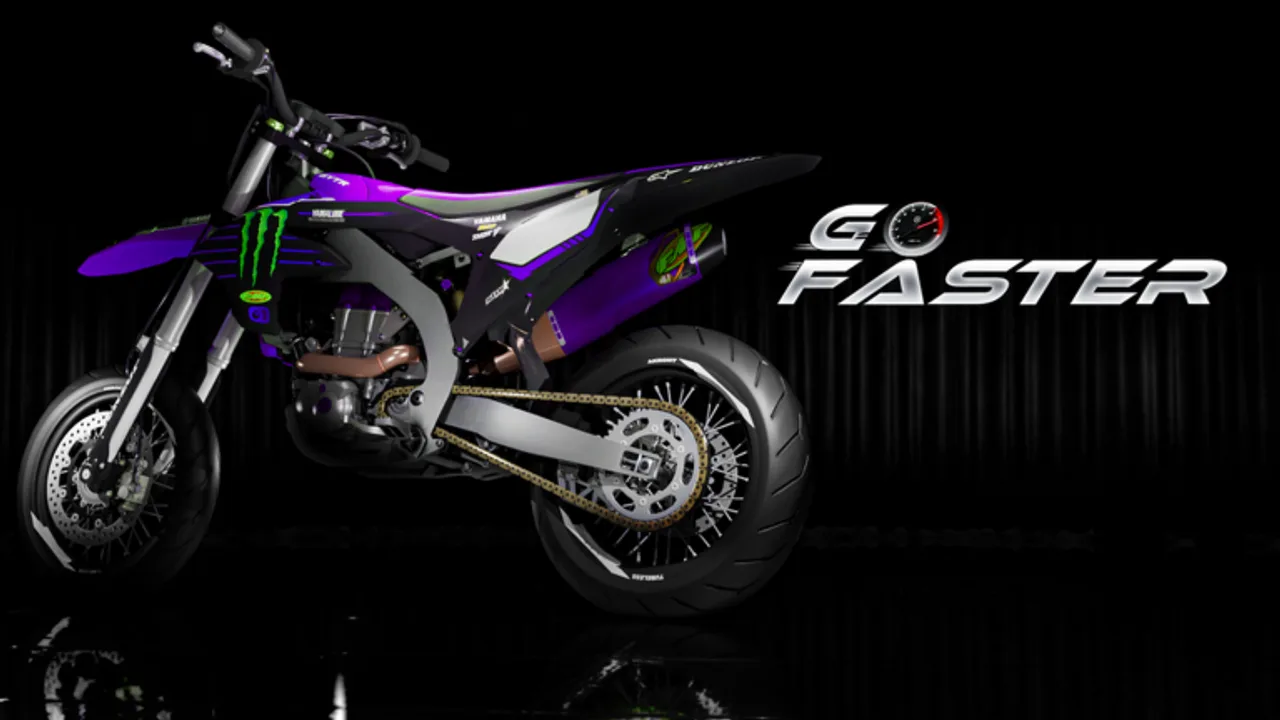
Removing an exhaust is the highest-friction customize step in GoFaster. Players search for it constantly because the pipe only detaches when your camera, click target, and interact bind all line up. Version 0.3 also expanded the exhaust family with new tips and a remastered system, so more bikes need swaps than ever. This page is the focused how-to — pair it with the broader Customize Bike overview when you also need wraps or deco kits.
The remove method that works
Creator clips and workshop practice agree on the same sequence:
- Walk to your bike and open the customize / workbench context so the exhaust is selectable.
- Orbit with scroll until you view the exhaust at roughly the same angle as the mount flange. Old E/Q habits are gone — see Controls.
- Left-click the pipe body, not a heat shield, hanger, or nearby fender.
- Press the interact bind (commonly F on PC) to detach.
- Confirm the part lands in inventory instead of vanishing forever.
If nothing happens, you are almost always wrong on angle or click target — not missing a secret menu.
Why angle matching matters
GoFaster treats exhaust attach points like real manifolds. A shallow side glance highlights the wrong mesh. A dead-on flange view makes the interact prompt reliable. Spend ten seconds scrolling before you spam F. That habit alone ends most “cannot remove exhaust” threads.
Mobile players should pinch slowly until the flange fills the frame, then tap the pipe and use the on-screen interact button. Fast pinch overshoots and feels identical to a broken bind.
Reattach from the workbench
Detaching is only half the job. To install a tip or full system:
- Open the workbench inventory.
- Select the exhaust or tip you want — prefer pieces ranked on the parts tier list.
- Place near the manifold, then drag until the snap catches.
- Reject mid-air floats. Reset and place again instead of forcing geometry.
- Kickstart gently and listen for scraping sounds before a heat pull.
Version 0.3’s remastered exhaust family rewards full-system installs. Mixing a random tip with an incomplete set can look fine in the lobby and scrape on the first lean.
Exhaust tips vs full systems
| Piece | What it changes | Common mistake |
|---|---|---|
| Exhaust tip | Exit geometry, scrape risk, sound color | Swapping tips without reseating the main pipe |
| Full exhaust system | Flow path + fitment family | Buying a tip from the wrong family |
| Heat shield / deco | Looks only | Clicking it when you meant to remove the pipe |
Spend cash on mechanical fit first. Cosmetics wait until the bike starts cleanly and stays cool — see Make Money for budget order.
Troubleshooting table
| Symptom | Likely cause | Fix |
|---|---|---|
| F does nothing | Bad angle or wrong mesh | Scroll to flange view, click pipe body |
| Part disappears | Accidental discard flow | Check inventory before rebuying |
| Tip floats | Forced place without snap | Reset, drag to manifold |
| Constant scrape on flat lot | Tip too low / wrong family | Swap tip; verify on parts list |
| Looks seated, sound wrong | Incomplete remastered set | Install matching system pieces |
| Customize feels locked | Wrong context | Use HUD Customize; 0.3 allows preview without ownership |
Practice drill (five minutes)
- Detach the stock exhaust once using perfect angle discipline.
- Reattach the same pipe without buying anything.
- Swap one tip from inventory or OIX Market.
- Take a slow lot loop and listen for scrapes.
- Only then attempt a second tip change.
Do this drill before you buy expensive remastered pipes. Camera skill is cheaper than inventory mistakes.
How Version 0.3 changed the exhaust loop
The patch added new exhaust tips, a wider exhaust system, deeper 2T sound, and scrape audio. It also fixed customization and let you open Customize without owning a bike for previews. Read the full list on Version 0.3. Practical takeaway: preview geometry, then buy; detach with angle care; reattach with drag-to-snap; prove the install with a quiet ride before a full-send heat run.
If you are still assembling the long block, finish Build Engine before chasing pipe swaps. An incomplete engine will not teach you anything useful about exhaust flow.
Related customize workflow
- Preview look without ownership.
- Confirm engine family on the engines tier list.
- Install reeds and ignition during the build order.
- Remove and fit exhaust using this page.
- Apply one deco kit for identity via Customize Bike.
- Manage heat with the temperature and durability habits.
Common myths
- “You need a special tool item.” No — angle, click, interact.
- “Exhaust only removes in a private server.” Public servers work when aim is correct.
- “F is broken after 0.3.” Interact still detaches; camera method changed to scroll.
- “Any tip fits any system.” Family mismatch causes scrape and soft snaps.
Master the remove/reattach loop and every later customize session gets faster. The community pain point is real — and solvable with patience at the flange.
Related pages
Frequently Asked Questions
Quick answers for GoFaster riders and builders.
How do I remove the exhaust in GoFaster?
Match the camera angle to the mount, click the exhaust pipe (not a heat shield), then press the interact bind — often F on PC. Confirm it moved into inventory.
How do I reattach an exhaust tip?
Open the workbench inventory, select the tip or system, place near the manifold, and drag until it snaps. Reset forced floats instead of leaving mid-air geometry.
Why will my exhaust not come off?
Usually bad angle or wrong click target. Scroll to a dead-on flange view and click the pipe body before pressing interact again.
Did Version 0.3 change exhaust removal?
The remove verb is still angle + click + interact, but camera adjust is scroll-only now, and the remastered exhaust family adds more tips and fitment choices.
What should I buy before swapping pipes?
A runnable used frame with a complete engine, then pick tips from the parts tier list so cash is not wasted on mismatched families.